3 Ways to Shape Onigiri (Japanese Rice Balls)
Ingredients
- 300 g cooked Japanese short-grain rice
- salt
- ice cold water
- fillings of your choice
- roasted seaweed for sushi (nori) (seaweed) optional
Instructions
How to Shape Onigiri by Hand
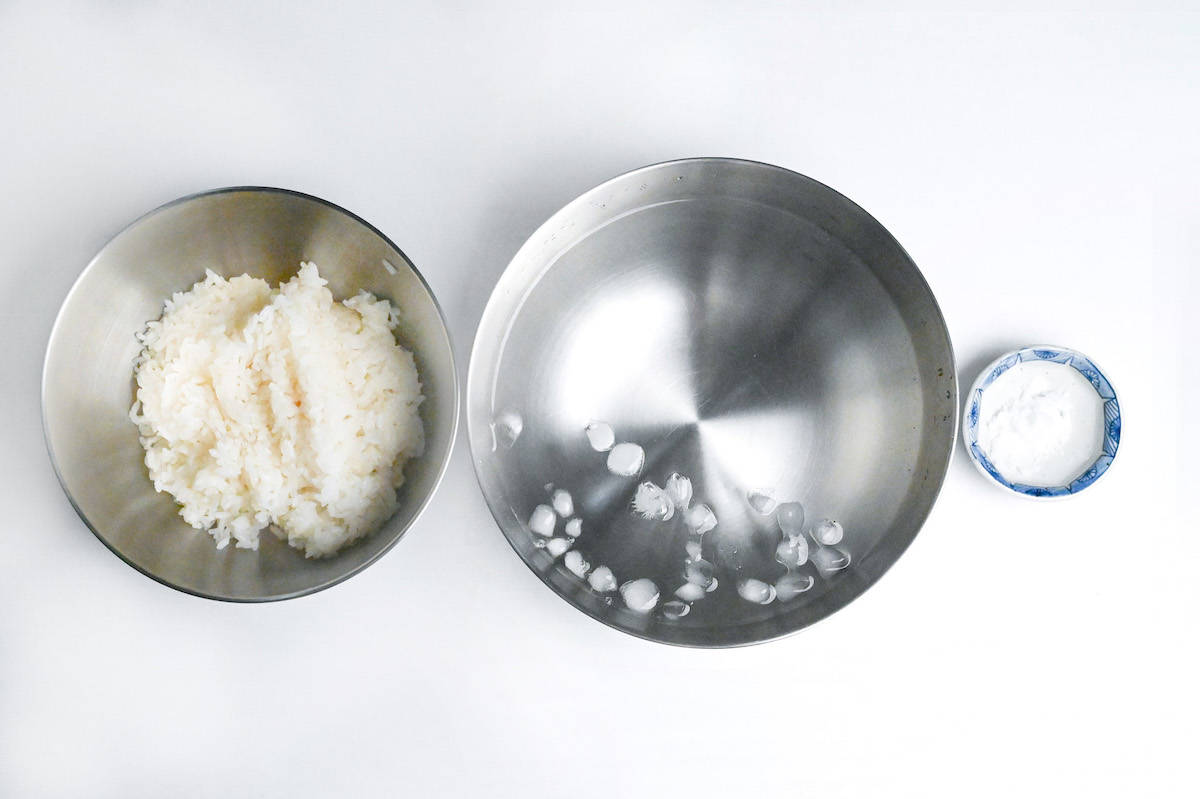
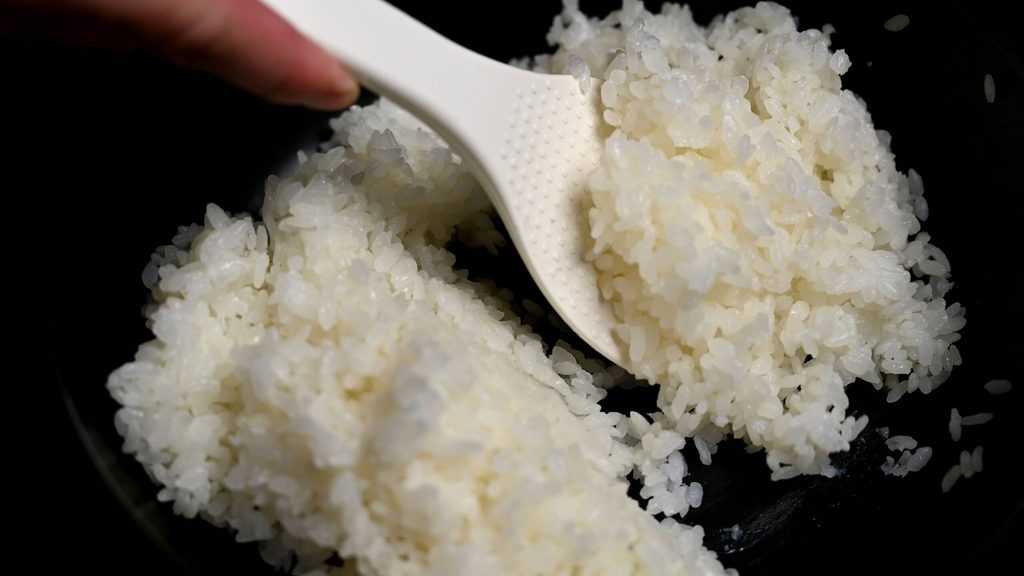
- Prepare your shaping station with 300 g cooked Japanese short-grain rice (warm), a small bowl of salt and a large bowl of ice cold water.
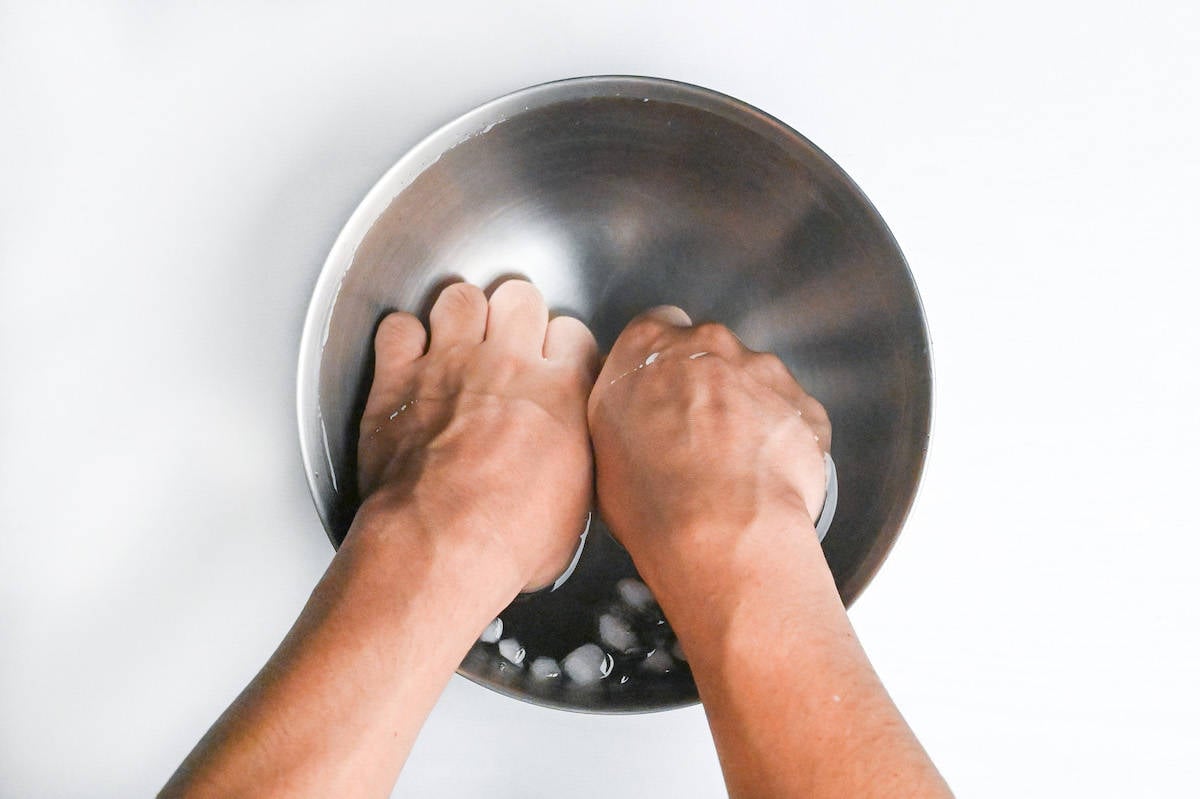
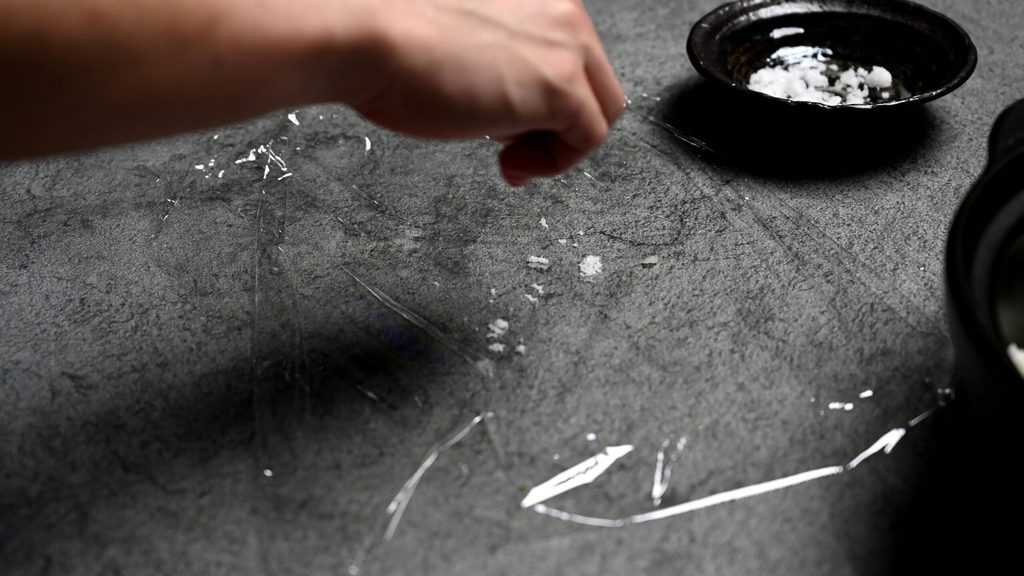
- Wash your hands and hold them in the ice cold water for 15-20 seconds. Remove them from the water but do not dry them.
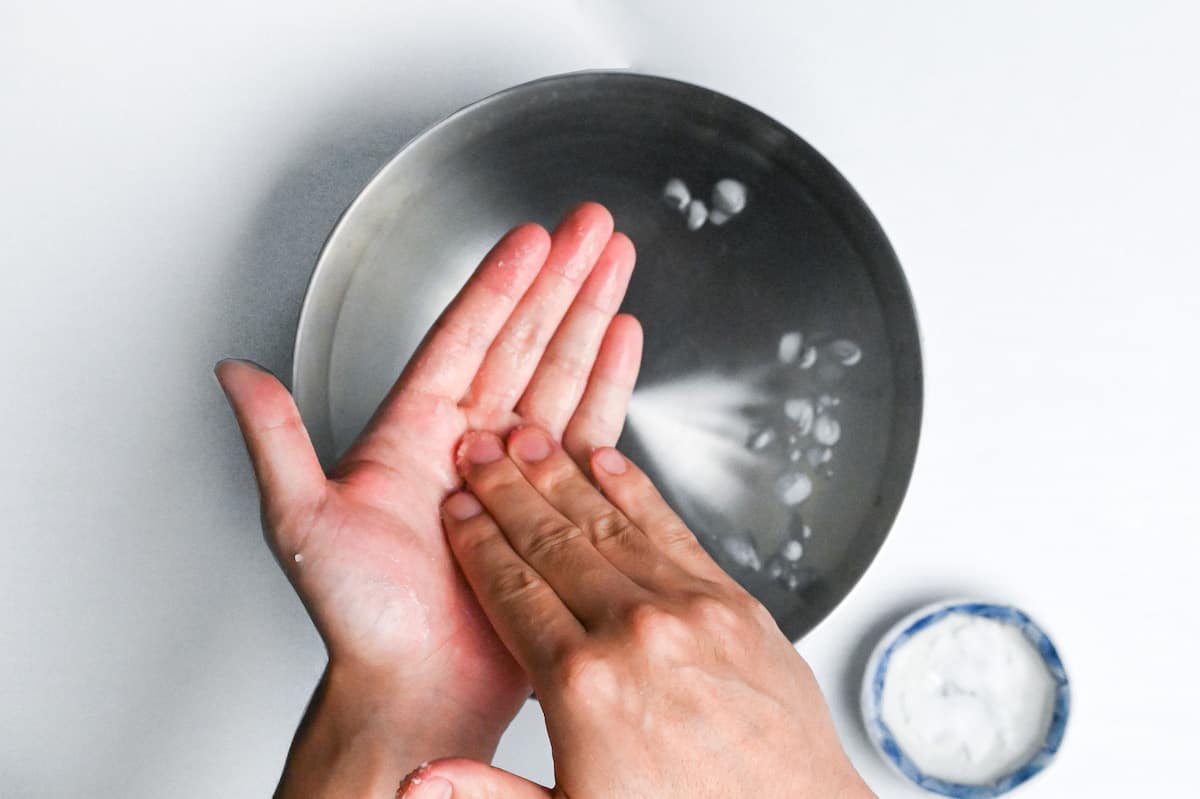
- Sprinkle a few pinches of salt over your palms and rub your hands together to spread it evenly.
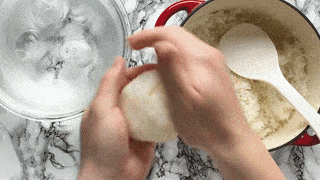
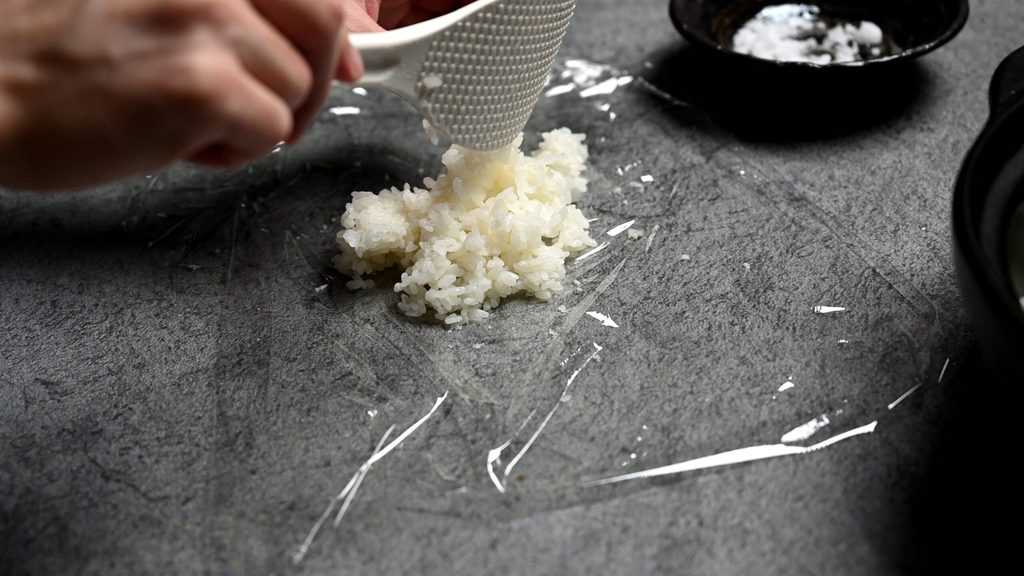
- Pick up a handful of cooked rice. If you're making onigiri with a filling, flatten the rice, make a dent in the middle and add the fillings of your choice. Then fold the rice over to encase the filling.

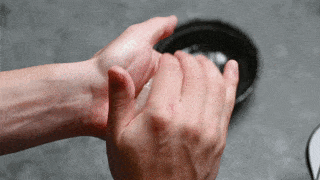
- Shape by pressing and turning to form three edges. Repeat until the onigiri feels stable.
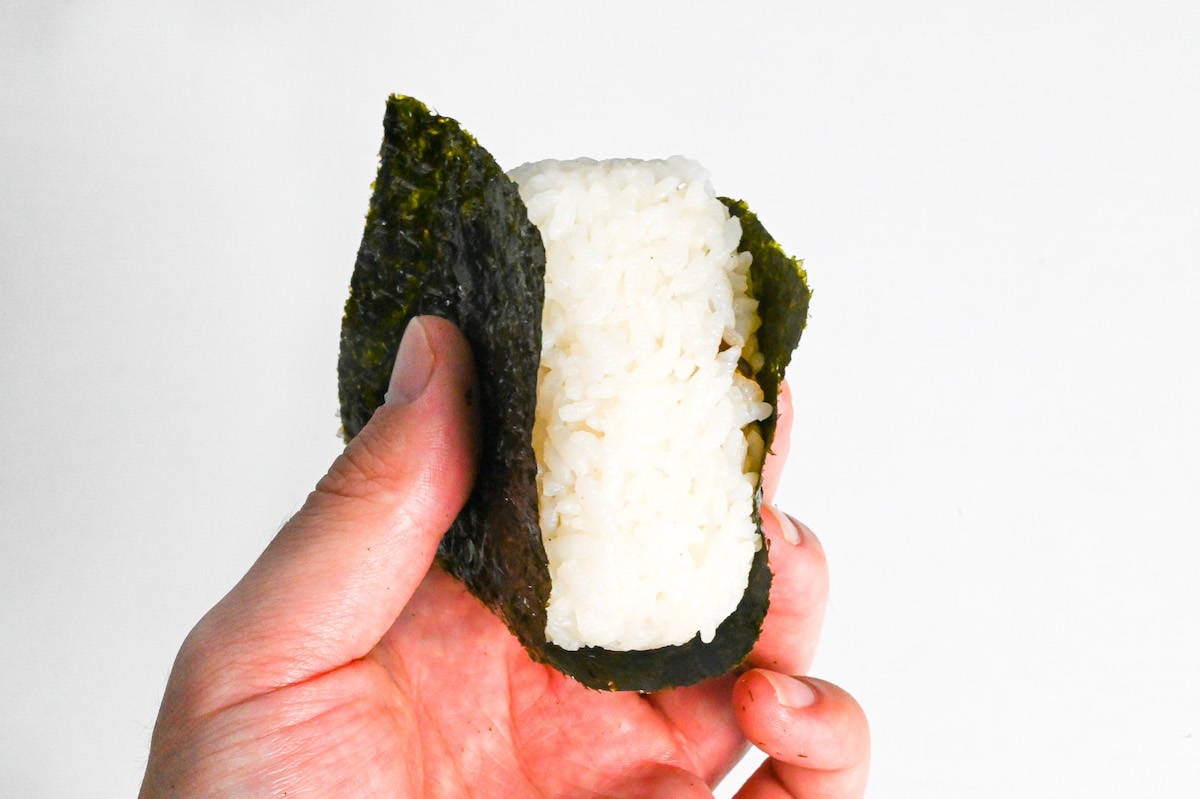
- Wrap with roasted seaweed for sushi (nori) and enjoy!
How to Shape Onigiri with Plastic Wrap
- Break off a piece of plastic wrap and place it on a flat surface. Lightly sprinkle with salt.
- Place the rice in the center of the plastic wrap. If adding a filling, fold the plastic wrap over the rice and flatten it with your palm, then make a dent in the middle. Peel back the plastic wrap, and use it to fold the rice over before shaping.
- Wrap the rice and shape by pressing and turning to form a triangle.
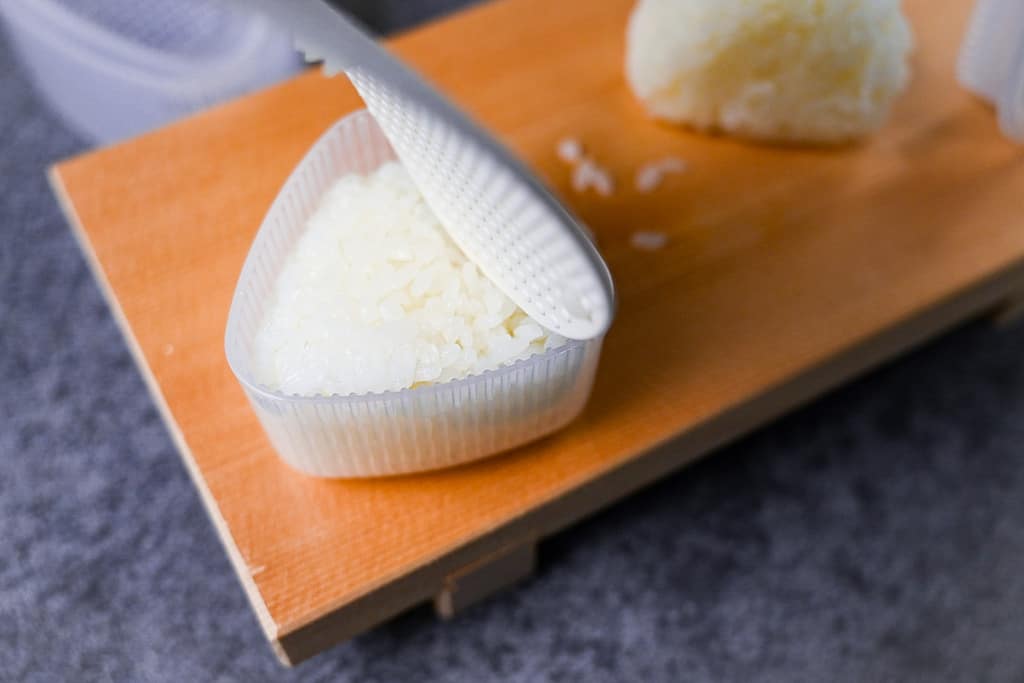
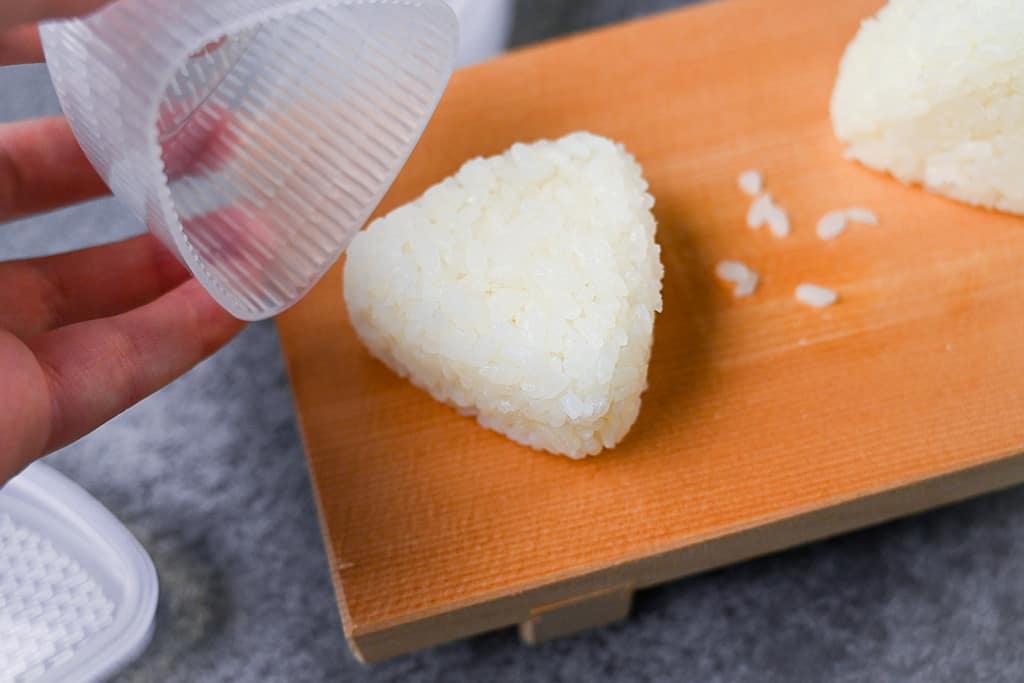
How to Shape Onigiri with a Plastic Mold
- Mix 300 g cooked Japanese short-grain rice with a few pinches of salt.
- Add the rice to the mold. If adding a filling, fill the mold half way and make a dent. Add the filling and then add the other half of the rice on top. Fill the mold to the top but don't pack too much.
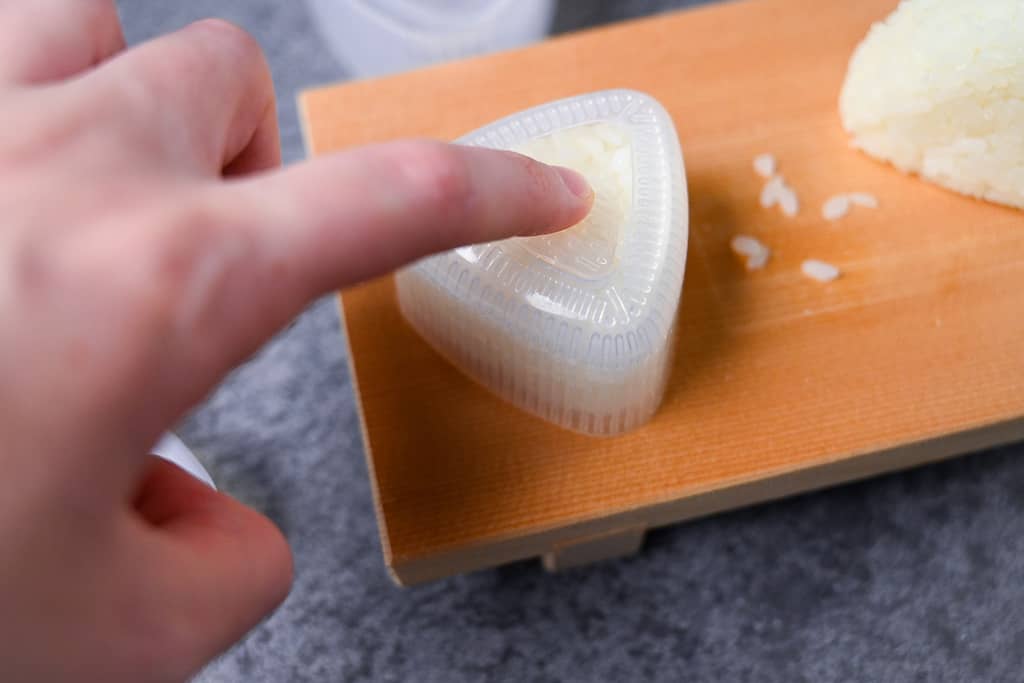
- Press the lid on top and push the rice down.
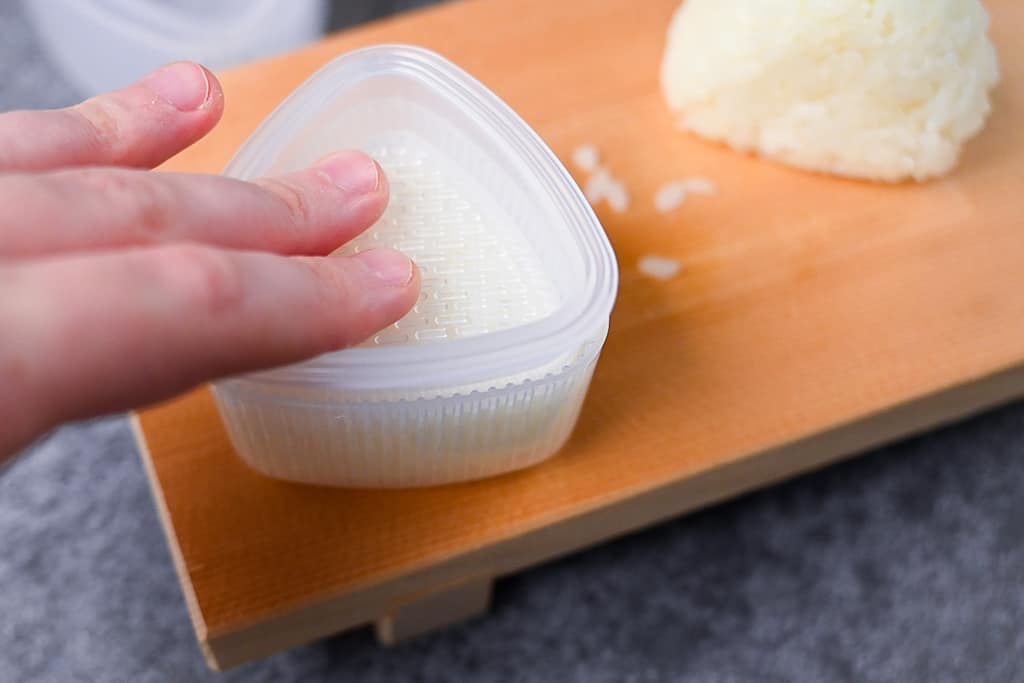
- Remove the lid and turn the mold over. Push the tab and lift the mold up to release the onigiri.
- Wrap with roasted seaweed for sushi (nori) and enjoy!
Full Recipe QR Code↑↑